What a perfect project for these sweet summer days. We've had plenty of butterflies fluttering around, and Kaia was ecstatic to feed them the moment I mentioned "butterfly feeder".
Here's how to make one of your own. Start by finding a small jar with a lid. Cut four sturdy strings at least 4 times the length of your jar. Tie them around the mouth of your jar so that all four are equally spaced and so that each knot has two tails of equal length. (As in, your strings were knotted in the middle and you now have 8 strings to work with.) Turn the jar over, and knot the adjacent strings together midway up the wall of he jar. Repeat this process near the base of the jar.
Gather your strings above the jar, which should be hanging upside down, and wrap the ends with a piece of tape to keep them together and make for easy threading.
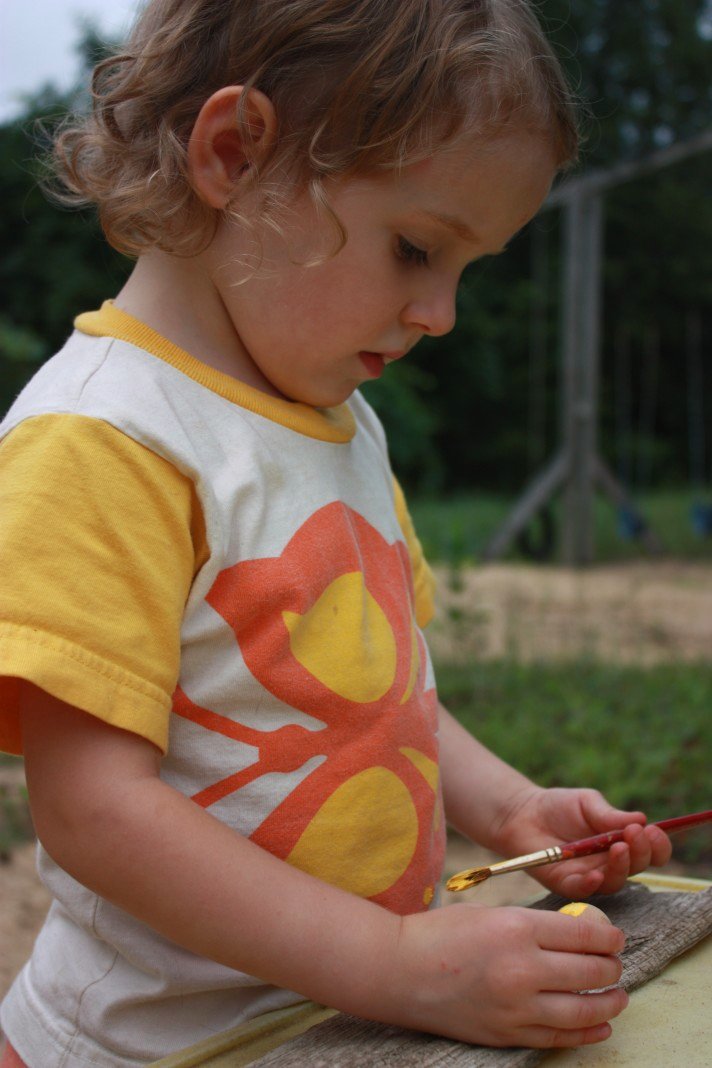
Lace a flower onto the top. Brighter colours attract butterflies best. Because we have a stash of fake flowers that was given to us, Kaia picked out one of the larger ones and we pulled it off its stem and removed all the plastic bits. I cut the hole in the center larger, and Kaia threaded it onto the feeder. She then painted a large wooden bead to go on top of the flower.
Unsurprisingly, she wanted to dip it in sparkles. (There are not many things she would not dip in sparkles given the opportunity.) Katalin was especially interested in this step and desperately wanted to "help", looks like I'll have another glitter enthusiast to contend with!
Either drill or punch a hole in the lid with a hammer and nail. Either way, make sure the burr (the jagged, sharp pointy bits,) goes inside the lid so it is safe. Place a cotton ball on the inside of the lid and pull a little piece of it through the hole. We did this by poking the nail we'd just used through it. Fill with butterfly food, and hang it out. Do the butterflies a favour, and do not hang it next to the bird feeder. :)

To make butterfly food, stir one part sugar into 4 parts water and bring to a boil, stirring to dissolve the sugar. Let cool, and pour into your feeder. We added a little vegetable based food colouring to the mix as well.
We found this project idea at Mother Rising. (thank you!) We made ours slightly differently, but the gist is the same.


Thank you, thank you... for making this... I have been searching for at least an hour for a butterfly feeder that was worthy of my Summer Camps.... I love this. I will be making this with a large group of children... I am thinking I should have all the strings attached and ready to thread through the flowers before hand. I am thinking the little ones can paint the lids and the wooden bead for their part and then help mix up the butterfly food.
ReplyDeleteMy 6 year old grandson and I just completed this project. What fun! Although, we are doing this a little late in the summer, we look forward to any butterflies that it will attract. Thank you for your wonderful tutorial.
ReplyDeleteSo cute! However, I recently read that food coloring is harmful to hummingbirds and I would be cautious using it for any wildlife.
ReplyDeleteThank you! Yes, I would not use conventional food colouring in the food. We used a food colouring made with beets. :)
ReplyDeleteBeet Colouring is awesome & I would tend to use that rather than any other food colourings I would also consider honey rather than sugar. I love this idea tho Wonderfully magical for kids! :)
ReplyDelete