16 February 2011

Happy Valentine's Day!

Okay, I have to admit, I am not really a big fan of Valentine's Day. I kind of find all the pink and cupids and gushy hearts a bit sickening. What I really hate, though, is the highly commercialized "Hallmark" aspect to it, which is really pretty easy to avoid contributing to. If you really love someone, you should show them by spending money on them, amiright? However, I must grudgingly fess up to the fact that when I was a kid I did, indeed, enjoy making Valentines for my friends and loved ones. And I will very, very grudgingly fess up to the fact that making cheesy doily Valentines with Kaia was pretty fun.
 
It started when she dropped a big bottle of red glitter glue on the floor and the thing absolutely shattered. I transferred what I could into a jar, but when it came to the giant, shining splat across the floor, I thought of the approaching (or shall I say, "encroaching"?) holiday, which embraces mass amounts of red glitter. So, rather than try to save it, I instead got out a large piece of paper and paintbrush and handed them over. I added a glob of red paint to the paper and Kaia happily scooped glitter off the floor and smeared it onto the sheet. When it dried I cut it into a disgusting amount of assorted sizes of hearts.


I dug in our craft bins and laid out on the table all of the distressingly coloured and heart-shaped materials I could find. Kaia has been wanting to make some butterflies, so she decided to make Valentine butterflies. She did her best to use at least some of every item available.


Kaia coloured some popsicle sticks red for their bodies. I think she ended up with more marker on her hands than on the sticks, but she got the job done. :) Then we started putting hearts and doilies together. I helped her glue the big ones in place where she wanted them and then I just put glue on the backs of hearts and handed them over to her to place.

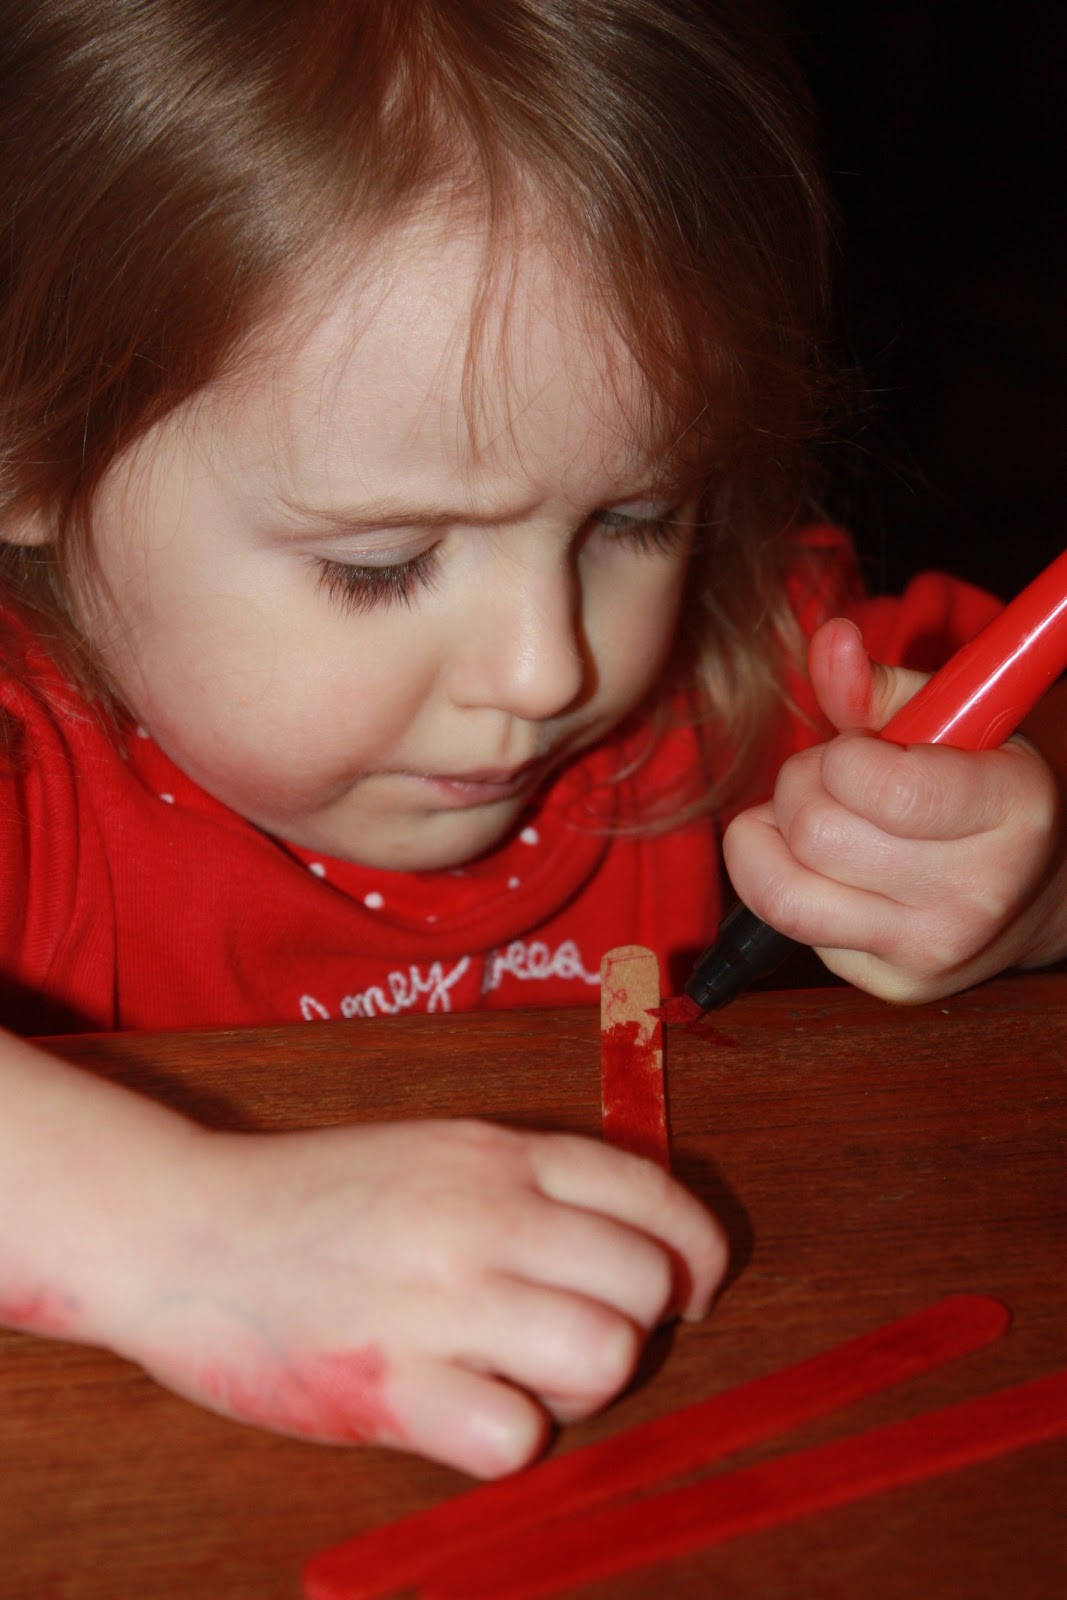
She stuck glittery little hearts all over. (And yes, those are dinosaur tattoos on her arms. They're still on from her dinosaur Birthday party, which I'll get to next.)


I cut and hot glued pipe cleaners to the backs of the sticks for antennas and Kaia slid little beads on the ends. It was a rather tricky task for her, the holes were small and the wires barely fit, but she's persistent. She used a Sharpie (one of her favourite and oh-so-often totally unfairly withheld art supplies, note the blue Sharpie on her arm in a couple of the shots,)  to put faces on some more little heart cut-outs and we glued those on for their faces.


 We wrote appropriately sickly notes on the backs and Kaia signed her name. I think they came out totally cute for such abominable little critters!


On Valentine's Day Kaia coloured and played with a heart puzzle.


We played a variety of games with felt beanbag conversation hearts, starting with finding the hearts hidden around the living room. We played beanbag toss into a bucket, catch, and, Kaia's favourite, playing music and trying to dance while balancing them on our heads. We suffered one bitter disappointment when I checked the ingredients of  the heart candies given to her by a friend that she'd been waiting forever (3 days!) to open and they were not at all vegan. I felt terrible for not checking in the first place, but luckily I had a sucker on hand left over from her Birthday party. While the heart candies were not forgotten, they were at least excused. Next year we will have to see if we can't make some.


 I hope everyone had a lovely Valentine's Day. <3


15 February 2011

Over the Holidays... (Part 4)


The fourth and final installment of recovering from slackardlyness. It's starting to feel like a punishment. I tried to group the content of these posts to be at least vaguely related categories, and today is ornaments. Buy some empty, clear, glass ornaments. Add to them a few drops of acrylic paint in your choice of colours. Kaia added green, purple, and gold to her first couple.


The idea is to let them slowly drip and periodically rotate them. Kaia wanted to watch, but these puppies were really slow moving. She gave up on trying to watch them the entire time, but was very excited every time I called her back to turn them.


We did the rest in red and gold and I let the drips fall down the sides from the tops instead of dropping the paint strait to the bottom, then Kaia turned them on their sides a few times. This seemed to work a bit better. I did end up adding a very, very small amount of water to a couple of the paints which literally did not move and began to dry in little blobs, but I also did lose a few to having added too much water. The paint would coat nicely, but it didn't stick.


They are supposed to have a marbled glass effect, but we had a lot of difficulty with this project, maybe it is our paint? Better luck next year, I guess! Kaia's first two dried out before coating the entire globe and she added another shade of purple and some red to finish the job. To these, I painted on her and her sister's names and the year. She's made or picked out one ornament to have her name and the year put on every Christmas so far.


Now, these acorn cap decorations were a huge hit and are, in fact, still gracing our table after all of the other Christmas decorations were put away. Kaia regularly takes them down and plays with them before scattering them down the runner again. 

You need only: 
Acorn Caps
White Glue
Washable Markers

First, Kaia coloured the insides of acorn caps with the washable markers, a task she loved doing.


 The more marker you add, the brighter the colour will be, but the glue will pick up even a small amount of marker. I couldn't even see the marker on some of her caps, but they all came out colourful.


Find a surface you can set them on that will keep them relatively even. I used a holey pizza pan, but you could just as easily use anything with holes or divots in it. Fill the caps full of white glue.


They will need overnight to dry completely, but because we made ours earlier in the afternoon, we checked on them every few hours. The different stages they went through were absolutely fascinating. Starting off looking like tiny bowls of cream, the level of glue began to dip and the colour to seep out around the rims. They looked like the most adorable little glazed bowls, and I kind of wish there were a way to stop them right there and keep them as beautiful faerie dinnerware. But the glue continued to dry out and pick up more and more of the marker.


The original plan was to glue them all over a ball to make a hanging ornament, but after they went on the table we didn't want to take them off. Everyone who sits down with us cannot help but pick them up and play with them.


Incidentally, should you have a toddler who is beginning to melt down at the table, they also make very good eyes for a washcloth puppet to talk to them. ;)


We also made these tiny little nests found on Twig and Toadstool. I adore them! Our soybeans were pretty much perfectly spherical, so Kaia actually painted navy beans instead for our nests.


And we're done with the Holidays! What? It's only mid-February. I could be later.

14 February 2011

Over the Holidays... (Part 3)


We had some fun with melted wax for a couple of our gifts. Lacking a double boiler, I use a pot, a coffee can, and some random utensils. (The coffee snob in me will not allow this to pass without informing you that our coffee can is acquired, it would be desperate times indeed for me to drink coffee out of a can!) Fill a pot with a couple inches of water and drop in enough metal utensils to keep the can off the bottom of the pan. We used paraffin (canning) wax with broken crayons for colour.


First we made a teacup candle for the kids' Great Grandmother. It only took two very, very small pieces of crayon, one brown, one white, to get a nice tea-with-cream tan. We also added a small amount of lavender candle scent to the mix. I at first  tried to find out if there was anything in our cupboards we could use to add a nice scent to the candle, such as vanilla extract. However, not being able to find adequately reliable information on the subject (but plenty of warnings,) we splurged on a small bottle of the real deal. 


Kaia has made a couple of dipped candles before, but she'd not seen one poured into a mold. She was excited to see the entire process, though it is a pretty simple one. She happily dropped the wax and crayons into the can and watched them melt. Miss Kaia was especially impressed with stirring the crayons into the clear wax and watching the colours swirl together. To keep the wick centered and from falling in, I wrapped one end around a pencil and laid it on top before pouring the wax in. Make sure you put your candle (be it teacup, jar, carton, or other devise,) on a cooling rack so that air can circulate underneath. If you do not, the bottom will stay hot, the outside of your candle will cool much faster, and you will have a great dip in the center of your new candle. I know, because we did this the first time we made one, ha!


 Kaia peeled us some more crayon pieces, this time shades of green, and after our candle was filled she threw the green crayons right into our left over brown wax. It didn't take much of those, either, to turn the wax a nice, muted forest green.


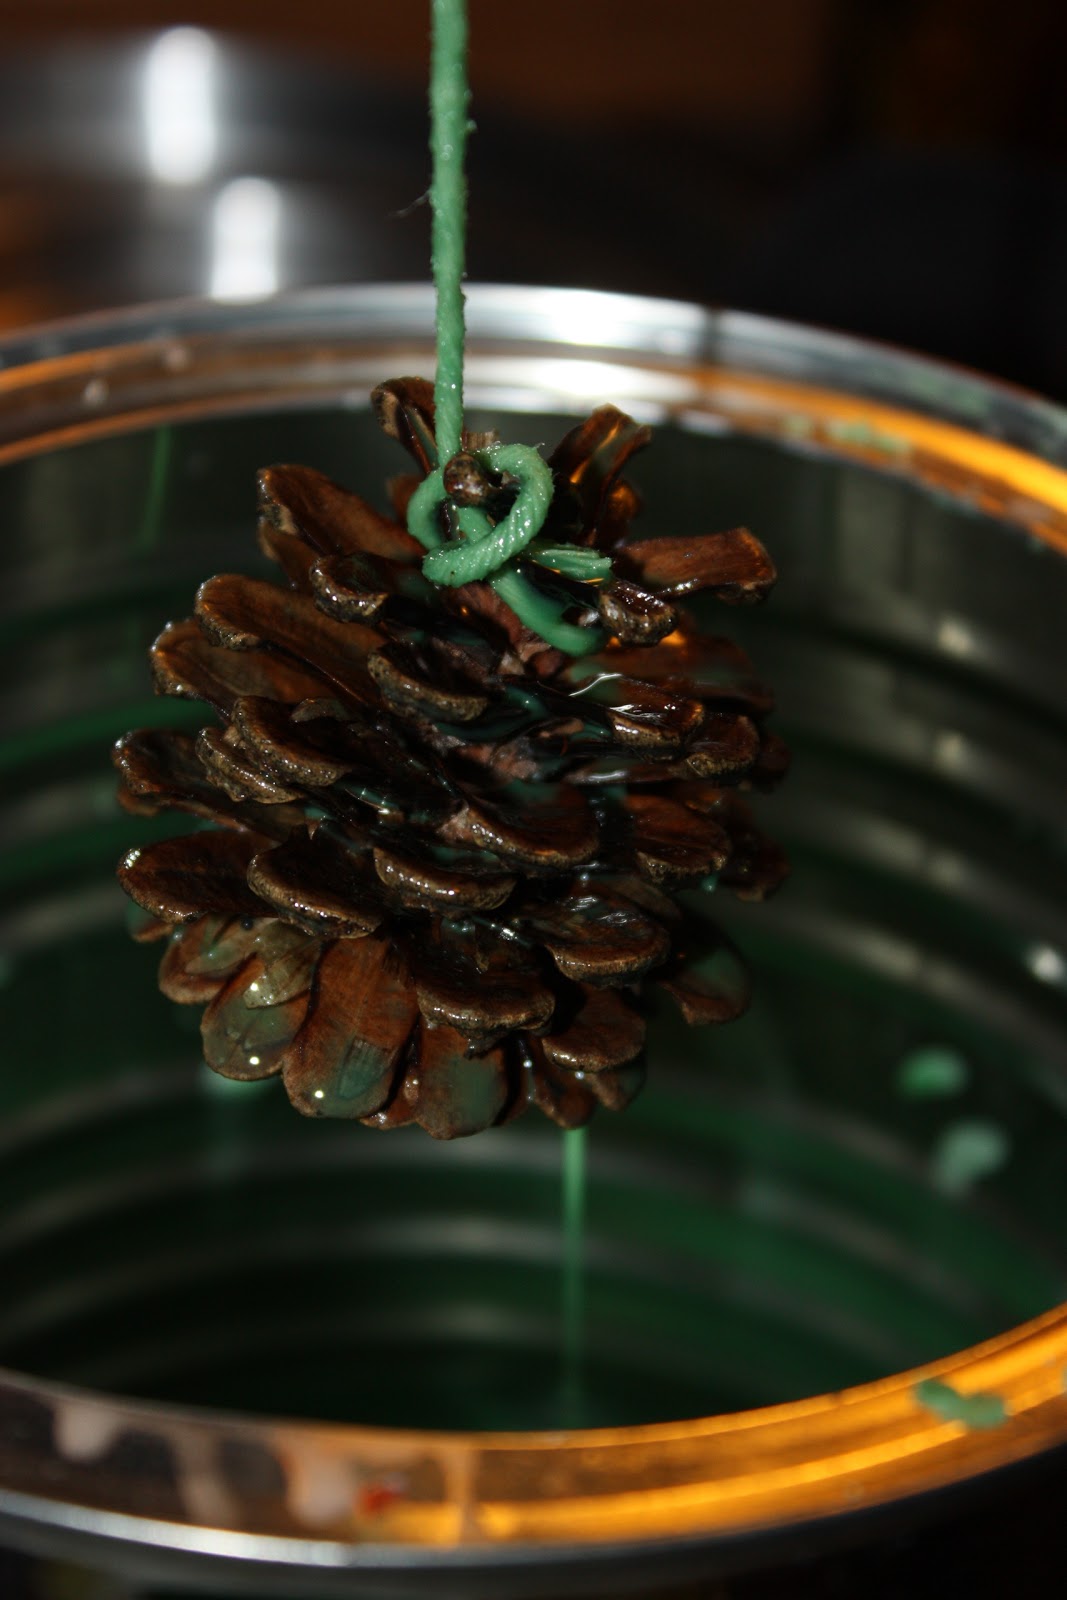
 We used the rest of it up tying strings to pine cones and acorns and dipping them. This all turned out trickier than I think was a good idea for a 2 year old. There is a very small window of opportunity in which the wax is neither too hot nor too cold to get a nice, even coat. When it is too hot, the wax does not stick, and repeated dunkings did not help, either. It just continued to melt off. When the wax was too cold, it got chunky and nasty. This was incredibly frustrating for Kaia, and most of the time she could only get one object dipped nicely before we needed to wait, either for the wax to heat back up, or cool off. She did, in the end, get a couple pine cones and acorns dipped, but it was a painful process. I think she was happy she'd done it, but wanted to just watch me do the rest.


We picked up a package of small, round magnets at the craft store and Kaia helped me go through a handful of magazines and catalogs to find tiny, Christmasy pictures to cut out. I cut them into little circles and gave them a light coat of Mod Podge, them pressed them into the backs of small glass stones. When they had dried, I glued magnets to the backs of them. These are what we filled our Totes of Tininess with!


And we made cookies, of course! Kaia had a blast decorating them. It was funny, she has no concept of what a "gingerbread man" is, so instead, as far as she was concerned, she decorated robots, snowmen, and bears. <3